How to coordinate wet-area specs in compact Dutch apartments
If you run an interior design studio, coordinating a wet-area remodel can quietly drain your time and your margin. Between shared vertical drains (standleidingen), historic canal-house floor joists, and strict Vereniging van Eigenaars (VvE) regulations, a simple bathroom update requires meticulous technical documentation long before the first tile is laid.
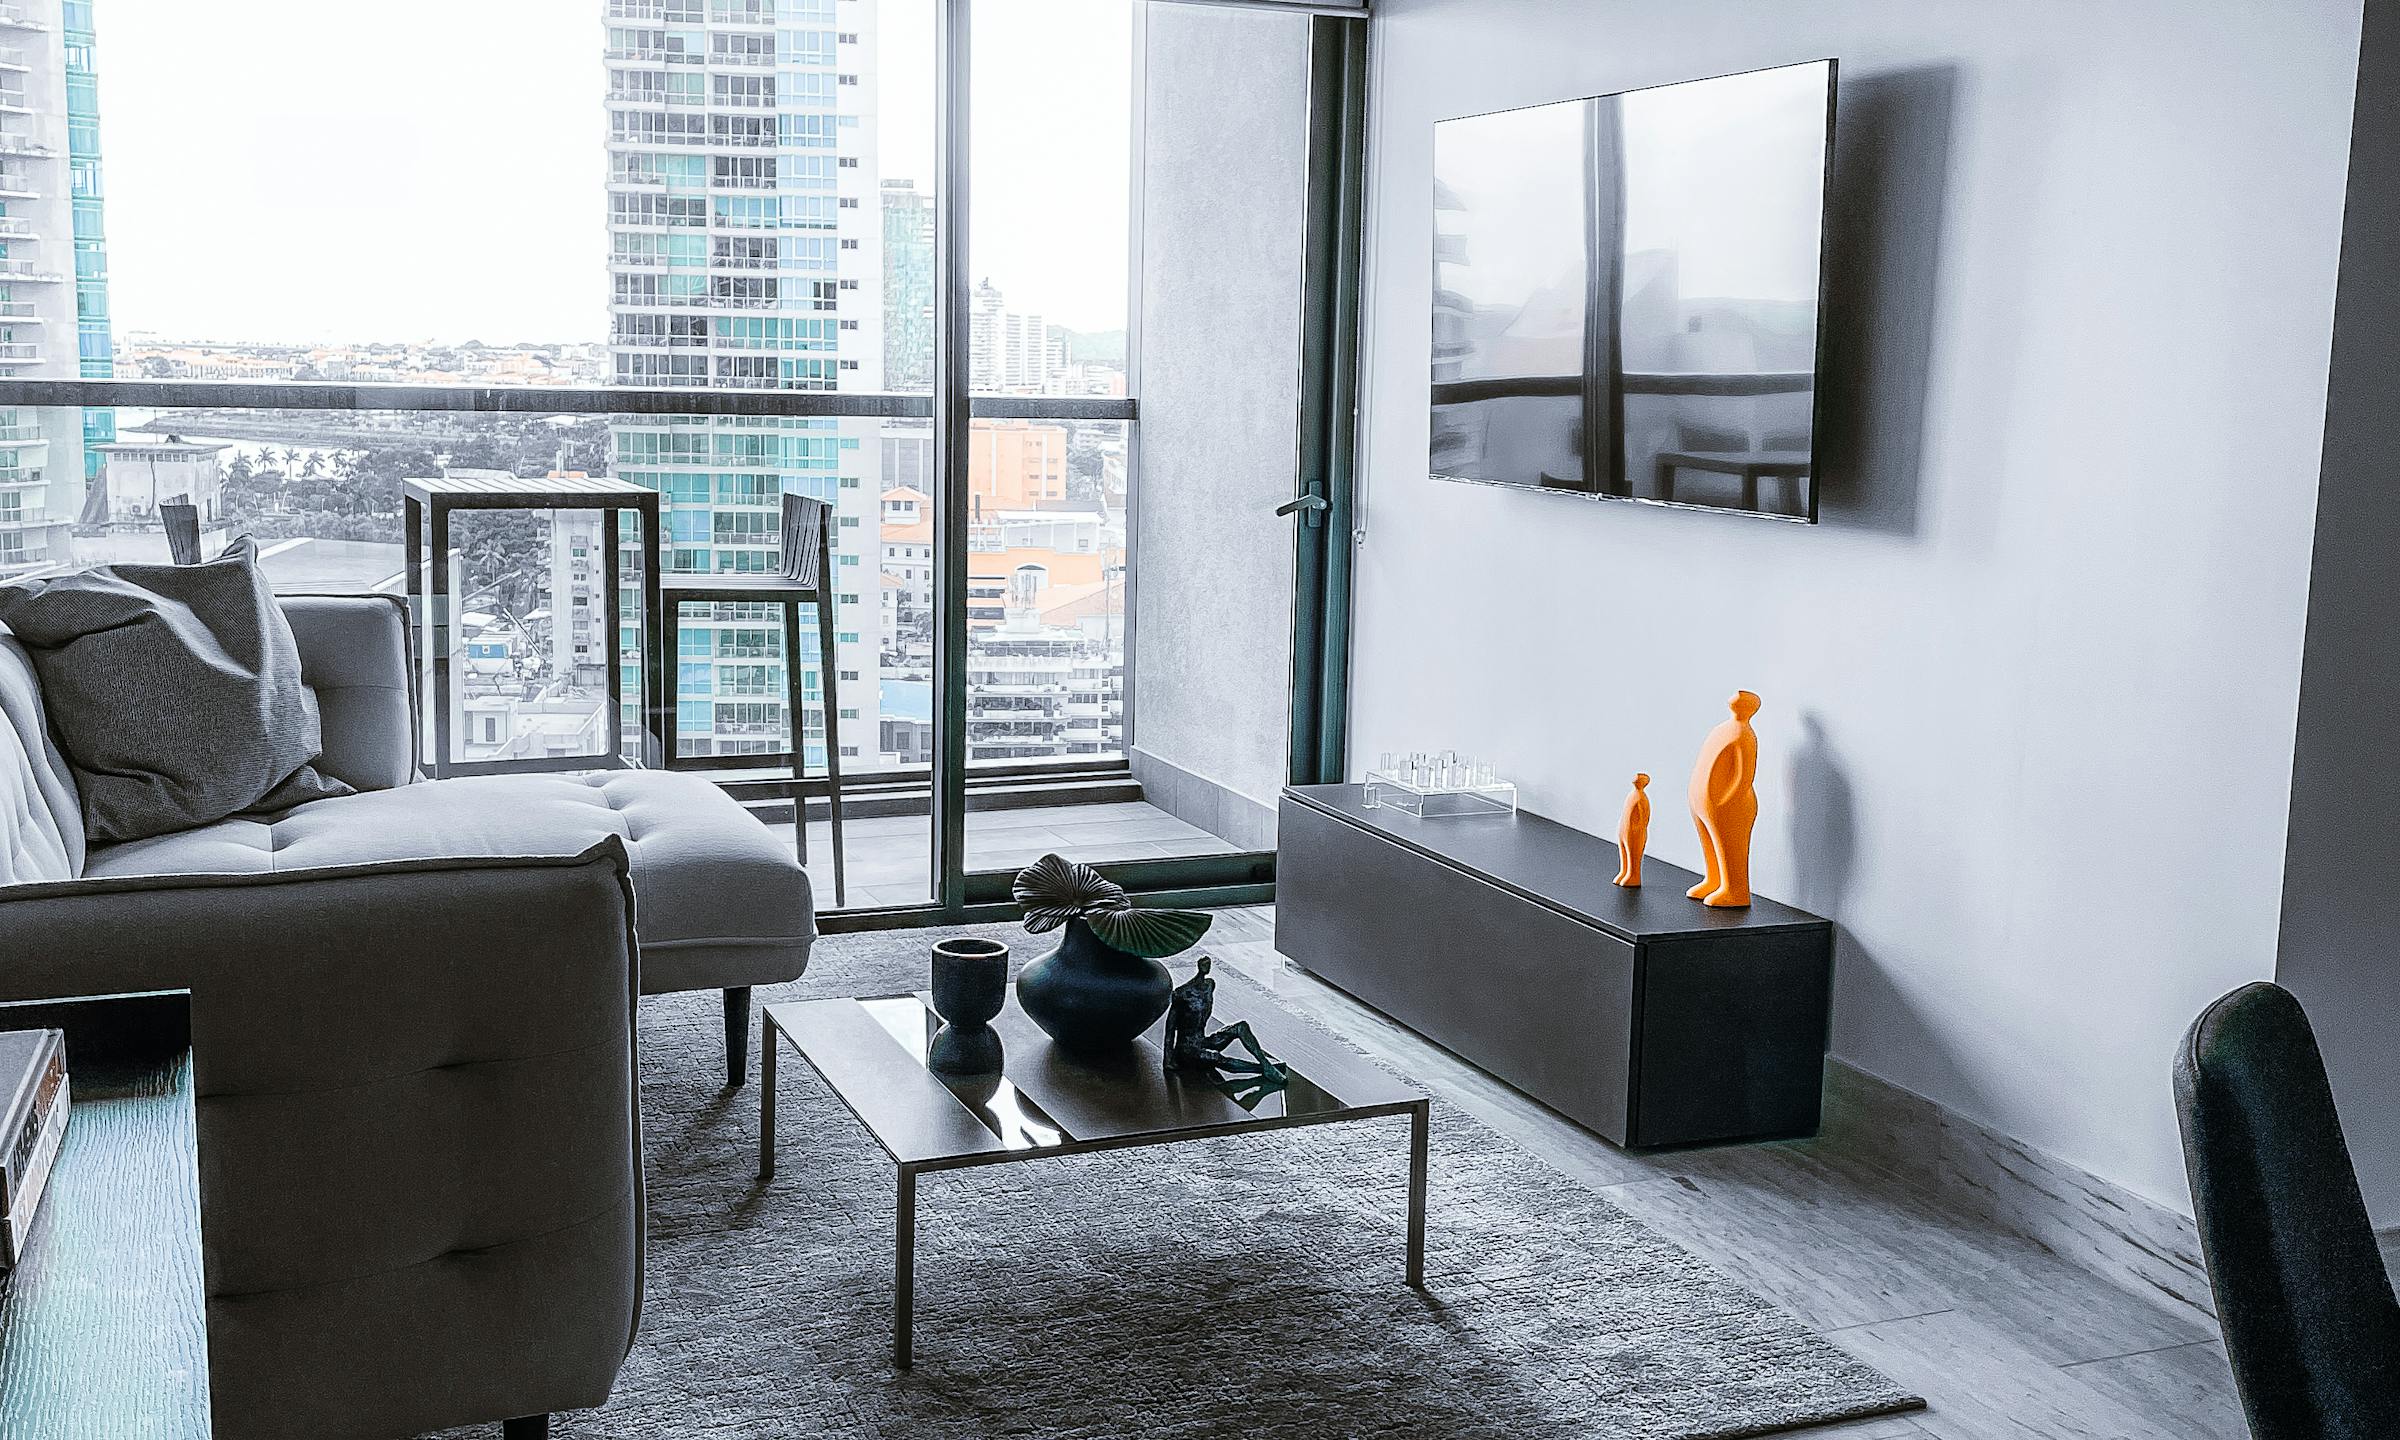
Alcove at a glanceCentralize dimensions, finishes, and spec data per product.
Most studios already organize projects across pins, spreadsheets, and email threads long before a dedicated system enters the picture. You are likely managing these complex packages in a mix of Excel, SketchUp, and WhatsApp — trying to ensure the contractor understands your design intent while protecting your studio from structural liability.
In compact European layouts, there is no room for error. A misplaced drain specification by even a few centimeters can halt an entire project. It delays your tile installers. It leads to uncomfortable budget conversations with your client. By establishing clear boundaries of scope and managing your specifications with precision, you can keep your projects profitable and your designs intact.
The reality of Dutch wet-area coordination
Alcove at a glanceTrack client approvals and decisions in one place.
Renovating a bathroom in a historic Amsterdam canal house or a mid-century Rotterdam apartment block is an exercise in structural compromise. You are rarely dealing with a blank slate. Instead, you are working around fixed mechanical chases, solid concrete floors, or shifting timber joists that have been settling for over a century.
When you specify a sleek, flush-to-floor shower drain in a building constructed in 1910, you are not just choosing a finish. You are making assumptions about the depth of the floor joists and the location of the main waste stack. If those assumptions are wrong, the contractor will have to build an unexpected step-up into the shower — completely altering your clean, minimalist aesthetic.
Coordination in these tight quarters requires a deep understanding of local building practices. You must design with the understanding that every wall-hung toilet frame, recessed mirrored cabinet, and concealed thermostatic valve competes for the same few centimeters of depth.
Documenting the boundary: what you own vs. what the builder owns
One of the most common sources of friction during a wet-area install is a misunderstanding of who owns which part of the assembly. To protect your margin and your relationship with the client, your specification documents must draw a sharp line between your aesthetic intent and the contractor’s construction methods.
As the designer, you own the visual and functional specifications — the tile layout drawings, the grout joints, the fixture locations, and the plumbing trim finishes. The general contractor must own the structural execution — the substrate preparation, the slope of the sand-cement screed (zandcementdekvloer), the waterproofing membrane (afdichting), and the connection to the building’s main waste lines.
When drafting your specs, include explicit notes that shift the technical validation to the builder. For example, your tile specification should state:
Designer specifies tile layout and finish only. Contractor to verify substrate stability, apply appropriate liquid waterproofing membrane and corner sealing tape (kiertape) per local building codes, and confirm load-bearing capacity prior to installation.
By documenting these boundaries directly on your specification sheets, you ensure the builder cannot hold your studio responsible if a shifting timber joist causes a grout line to crack six months after hand-off.
Managing the math of tile allowances and waste factors
In compact bathrooms, small layout changes dramatically impact your product quantities. If you are specifying a high-end Italian porcelain tile from a supplier like Mosa or Tegelgroep Nederland, under-ordering by even a single box can delay your install day by six weeks while you wait for a matching dye lot to ship.
Let's look at a realistic worked example for a compact 4-square-meter shower enclosure.
[Wall Area to Tile] = 12 square meters
[Selected Tile] = Mosa 60x60 cm Porcelain (Rectified)
[Net Tile Required] = 12 sqm / 0.36 sqm per tile = 33.3 tiles (round up to 34 tiles)
[Standard 10% Waste Factor] = 12 sqm * 1.10 = 13.2 sqm (37 tiles)
[Realistic 18% Waste Factor for Compact Layout] = 12 sqm * 1.18 = 14.16 sqm (40 tiles)
In a tight shower enclosure with a recessed shampoo niche and an offset corner, a standard 10% waste factor is rarely enough. The tile installer will make multiple perimeter cuts and L-cuts around the niche. If you only ordered 13.2 square meters, those cuts will quickly consume your buffer.
[Trade Price] = €45.00 per sqm
[Studio Markup (25%)] = €11.25 per sqm
[Client Price] = €56.25 per sqm
[Total Client Cost for 14.16 sqm] = €796.50 (excluding VAT)
[Est. Lead Time] = 4 to 6 weeks from Italy
By specifying the realistic 18% waste factor upfront, you protect the project from a mid-install shortage. You also capture your full 25% markup on the correct volume of material from day one — rather than scrambling to place a rush order for a single box of tiles later.
Navigating the VvE and shared-drain constraints
In multi-family Dutch buildings, the plumbing behind the finished wall is rarely the sole property of your client. The main vertical drain stack (standleiding) is typically communal property managed by the VvE.
If your design calls for moving a wall-hung toilet to the opposite side of the room, you cannot simply core-drill a new path through the concrete floor. Doing so can compromise the structural integrity of the floor slab — or interfere with a neighbor's ceiling below.
Your specifications must flag these dependencies early. When presenting a layout that alters the plumbing footprint, add a clear note to your bath package:
- Layout contingent on contractor verification of waste-line fall and VvE approval for core drilling.
This simple step ensures the client understands that while you have designed a beautiful, open layout, the physical reality of the building's infrastructure must be cleared by their contractor and the building association before you release the purchase orders for long-lead fixtures.
Connecting your wet-area specs to client approvals
Chasing clients for approvals on tile layouts, grout colors, and plumbing trim can feel like a full-time job. When you are managing these details across email threads, PDF attachments, and WhatsApp messages, it is incredibly easy for an outdated specification to make its way to the job site.
Instead of relying on disconnected documents that require constant manual updates, you can bring your specification workflow into a single, organized system.
Alcove links your wet-area line items, tile approvals, and allowance revisions directly to the bath packages your clients sign off on. When a client approves a specific plumbing fixture or requests a change to a tile allowance in their portal, the system updates the procurement record instantly. This ensures your team, your client, and the contractor are always looking at the exact same set of approved specifications.
So you can spend more time on design decisions and less on copying cells or chasing down which version of the bathroom package the client actually signed off on.
Price with clarity. Install with confidence.
To see how Alcove can help your studio organize specifications, manage client approvals, and track procurement for your next residential project, visit alcove.co.

FAQs
How do I handle waterproofing specifications in a historic Dutch canal house?
In historic buildings with timber joists, structural movement is inevitable. Your specifications should require a flexible, liquid-applied waterproofing membrane — such as a 'kiertape' and paste system — over a stable substrate like cement-backer board. This explicitly leaves the structural deflection calculations and substrate prep to the general contractor's scope.
What is a standard waste factor for tiling compact European bathrooms?
For standard running bond patterns, a 10% waste factor is typical. However, for compact Dutch bathrooms using large-format tiles — 60x60 cm or larger — or intricate herringbone patterns, you should specify a 15% to 20% waste factor to account for the high volume of perimeter cuts around niches and drains.
How do I specify wall-hung toilets when space is extremely limited?
When space is tight, specify a compact in-wall cistern — like a Geberit Duofix Sigma 8 cm — which saves up to 4 cm of depth compared to standard 12 cm frames. Ensure your drawings clearly show the finished stud-wall thickness so the contractor can verify the final clearance before rough-in.
See how Alcove does this
See how Alcove keeps your specs, approvals, and tile allowances organized in one clear system. Learn more at alcove.co.
