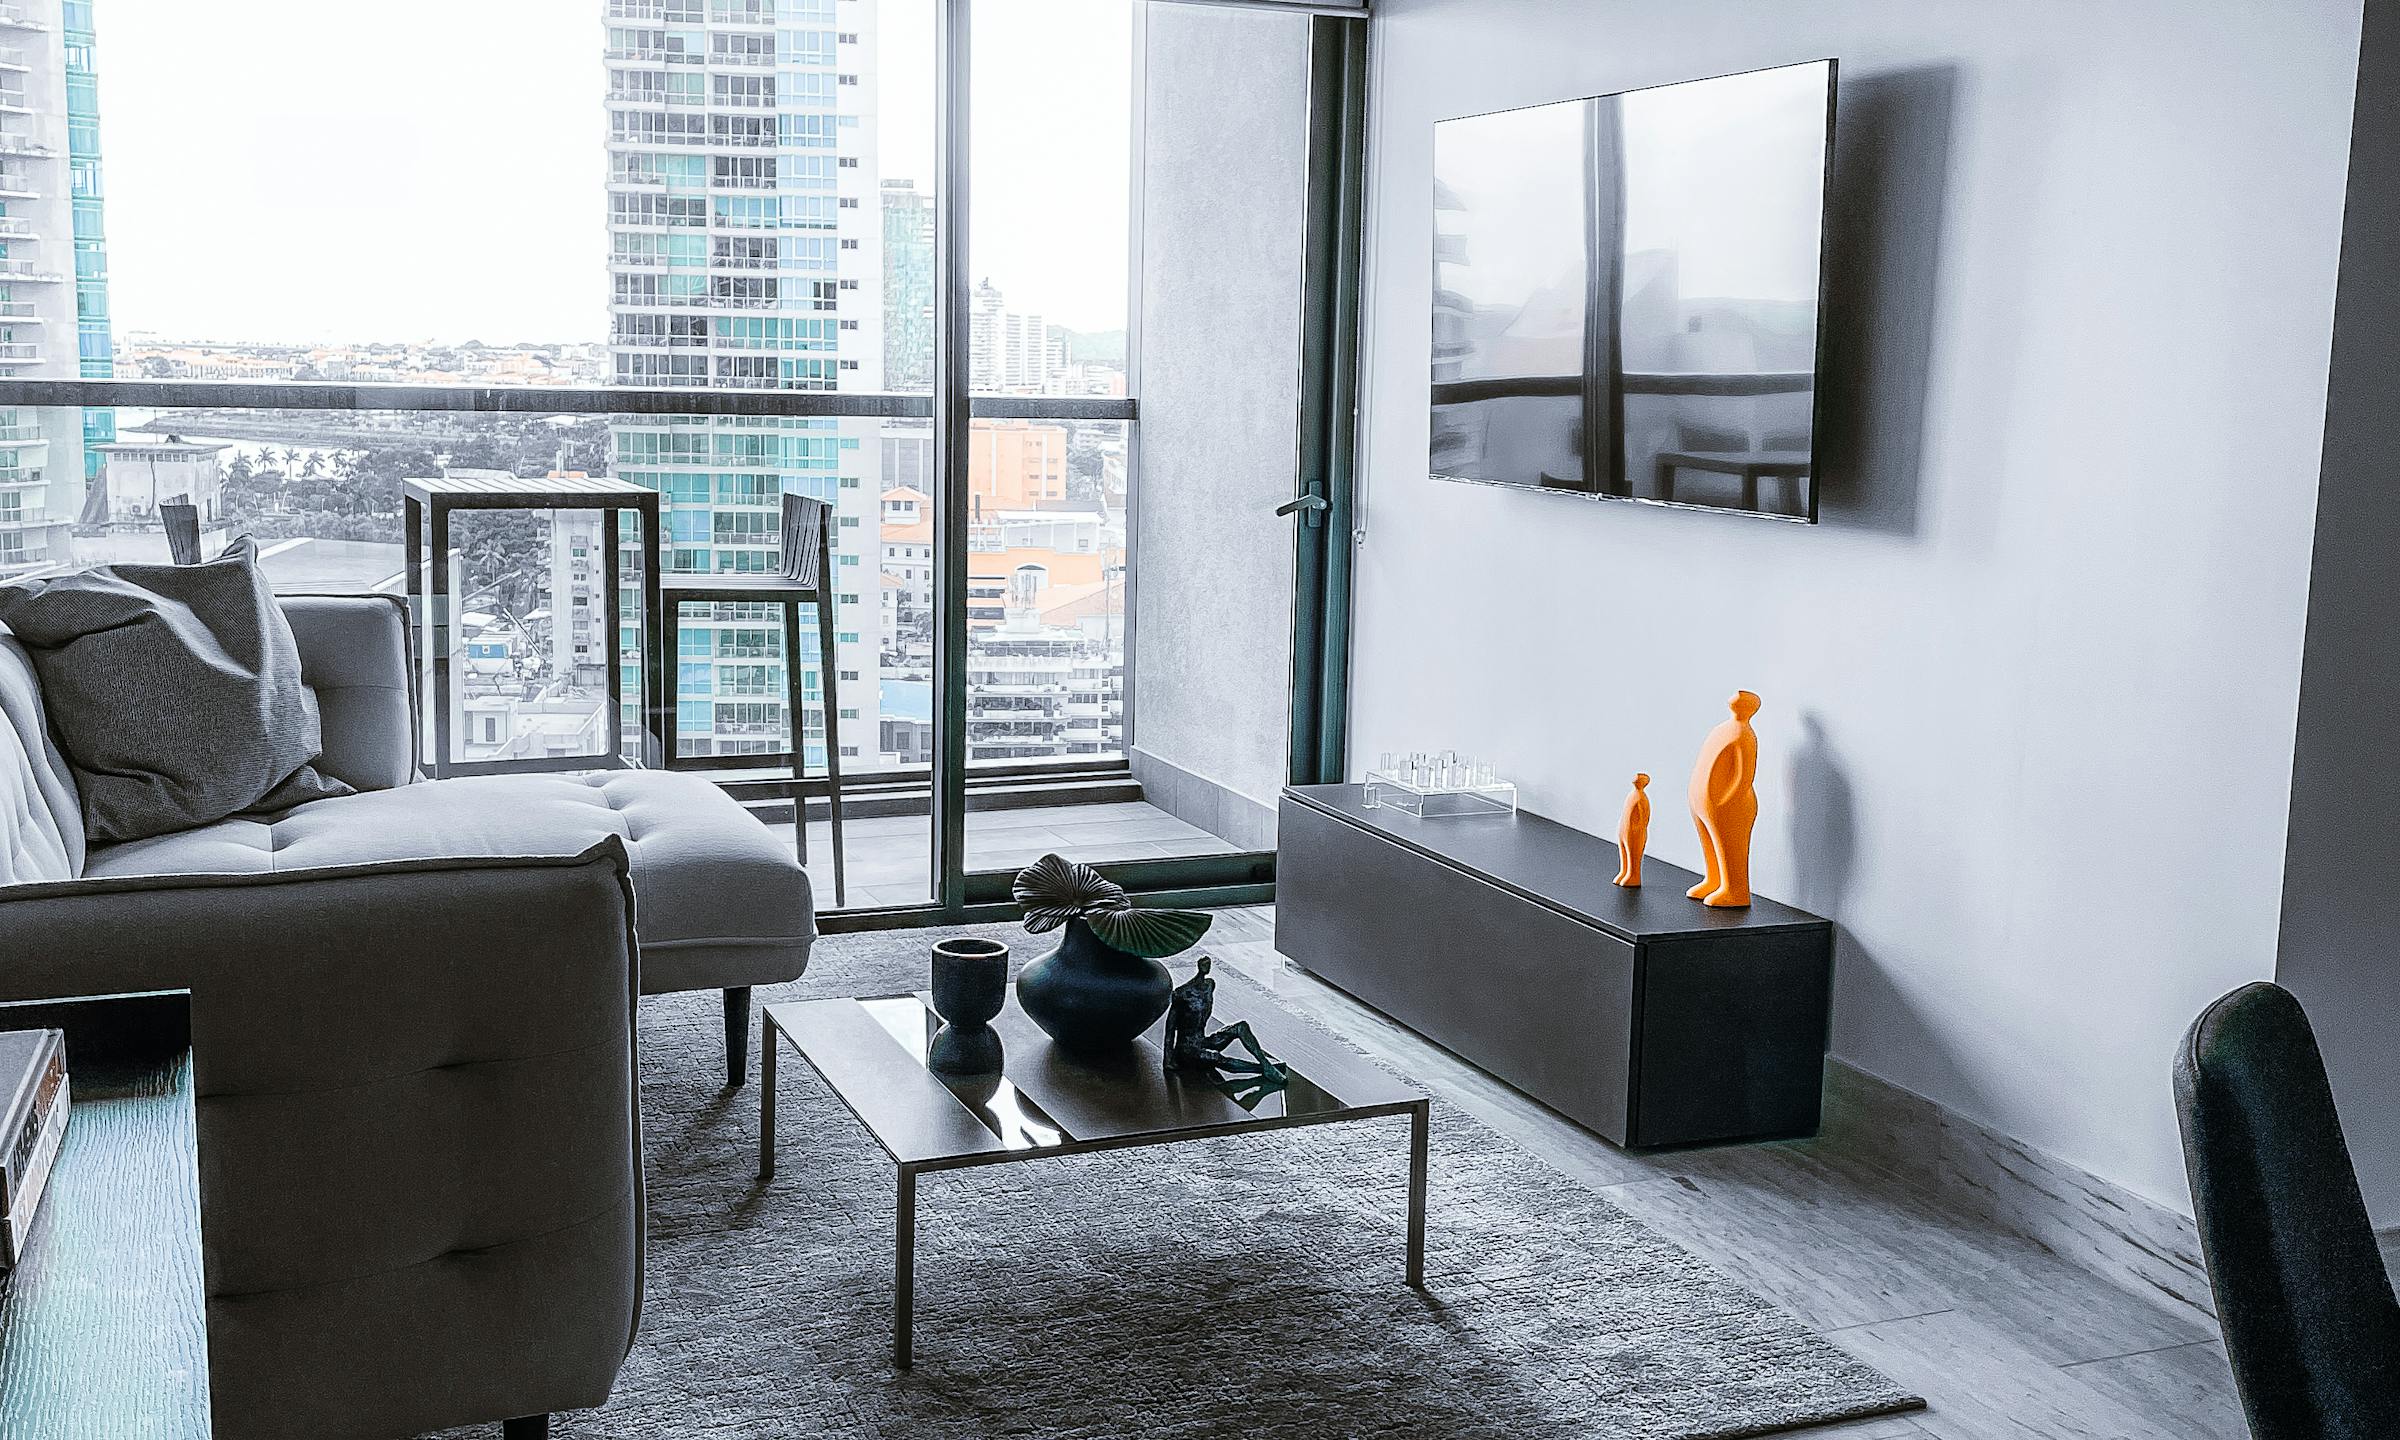
How should NYC designers specify window treatments for mixed light conditions in dense urban streetscapes?
If you run an interior design studio, specifying window treatments for New York apartments can quietly drain your time and your margin. A bedroom facing a bright light well requires a completely different lining than the street-facing living room—and a single mistake on a workroom order can wipe out your profit. Most studios already sketch out these exposure shifts on floor plans long before writing a single spec. But translating those nuances into clear vendor orders—without losing track of which room gets which lining—is where things often drop.
Alcove at a glanceCentralize dimensions, finishes, and spec data per product.
Urban light is rarely uniform. A single apartment can contain three distinct microclimates—a dark interior courtyard, a south-facing street front with intense glare, and a bedroom staring directly into a neighbor's brick wall. Managing these variations requires more than just picking a beautiful face fabric. It demands a highly systematic approach to documentation.
The reality of urban exposure: Why mixed light demands precise specs
Alcove at a glanceTrack client approvals and decisions in one place.
In a dense city streetscape, light changes by the floor, the hour, and the angle of the buildings across the street. A third-floor loft might get zero direct sunlight but suffer from intense bounce-light off a glass tower opposite. Meanwhile, a ground-floor unit faces constant headlights and street lamps.
If you specify a single "standard" lining or opacity for an entire apartment, the design will fail in at least one room. The living room might end up feeling like a cave—or the primary bedroom will let in the 4:00 AM glare of a sanitation truck.
To prevent these issues, seasoned studios treat every window as an individual exposure puzzle. You have to balance three competing forces:
- Glare control: Reducing harsh reflections on screens and art without losing natural daylight.
- Privacy: Blocking views from neighboring windows that are often less than thirty feet away.
- Blackout capability: Eliminating urban light pollution so clients can actually sleep.
Most designers start this process during the initial site survey, noting the direction of the windows and the proximity of neighboring structures. But the real challenge begins when you have to translate those site notes into precise fabrication instructions for your workroom.
The math of mixed exposures: Lining and fabric combinations
Let’s look at a realistic scenario for a West Village duplex. The living room faces a busy street with western exposure, requiring glare control. The primary bedroom faces an eastern courtyard, requiring complete blackout capability for morning light.
Instead of guessing, we break the specifications down by room, fabric weight, and lining type. For this project, we are working with a regional fabricator, Chelsea Workroom, to produce five custom treatments.
The Living Room (3 Windows)
The client needs to block the harsh afternoon sun but wants to preserve the view of the street.
- Treatment: Custom inside-mount roller shades.
- Fabric: 3% openness solar screen fabric from Varick Textiles.
- Trade Cost: $450 per shade ($1,350 total).
- Fabrication & Hardware: $500 per window ($1,500 total).
The Primary Bedroom (2 Windows)
The client needs total darkness and sound dampening from the courtyard alley.
- Treatment: Custom double-fullness pinch-pleat drapery on a manual track.
- Face Fabric: 18 yards of 54-inch wide linen blend at $110/yard wholesale ($1,980 total).
- Lining: 18 yards of premium blackout lining at $15/yard ($270 total).
- Interlining: 18 yards of heavy cotton flannel interlining for sound dampening at $12/yard ($216 total).
- Fabrication Labor: $1,100 per pair ($2,200 total).
- Hardware: Custom French poles and brackets ($1,800 total).
The Project Financials
To protect your margin, you must track the landed cost—including measuring fees, freight, and delivery—before applying your markup.
| Item Description | Net Cost | Markup % | Client Price | | :--- | :--- | :--- | :--- | | Living Room Shades (3) | $2,850.00 | 35% | $3,847.50 | | Bedroom Drapery Fabric & Linings | $2,466.00 | 35% | $3,329.10 | | Bedroom Fabrication Labor | $2,200.00 | 20% | $2,640.00 | | Custom Hardware | $1,800.00 | 35% | $2,430.00 | | Site Measure & Install Fee | $950.00 | 10% | $1,045.00 | | Workroom Freight & Delivery | $350.00 | 0% | $350.00 | | Total Project Cost | $10,616.00 | | $13,641.60 |
If you fail to account for the interlining or the freight charge in your initial estimate, your studio absorbs those costs. A lead time of 6 to 8 weeks for custom fabric weaving, combined with a 4-week workroom queue, means any re-ordering mistakes will delay the client's move-in date by months.
Documenting hardware and pocket clearances by room
In New York apartments, physical site constraints dictate hardware specifications just as much as light conditions do. Pre-war buildings often feature thick plaster walls and uneven window frames—while modern high-rises rely on shallow ceiling pockets.
When specifying ceiling-mount ripplefold tracks in a modern high-rise, pocket depth is your tightest constraint. A standard double-track setup—running a sheer behind a blackout drapery—requires a pocket width of at least 10 inches to operate without friction. If the developer only provided a 6-inch pocket, the fabric will bind against the drywall every time the client pulls the cord.
For pre-war plaster, wall-mount French poles require heavy-duty anchors. You must specify the exact bracket placement to avoid crumbling plaster. In your spec package, always document:
- The exact pocket depth and width.
- The finished length, measured from the top of the track to 1/2 inch above the finished floor.
- The stackback width, ensuring the drapery clears the glass entirely when open to let in maximum light.
Managing client expectations and sample approvals
Clients often expect custom blackout shades to turn their bedrooms into absolute sensory deprivation chambers. However, with inside-mount roller shades, light bleed is a physical reality. The brackets require a small gap on either side of the roller tube, resulting in a vertical stripe of bright light along the window casing.
To manage this expectation, bring physical fabric memos and hand-samples of the hardware to the site visit. Hold the fabrics up to the window at different times of day—specifically midday and late afternoon.
Most studios already carry physical rings of fabric memos to site visits long before a system enters the picture. There is no digital substitute for seeing how a 3% solar screen handles the glare of the 3:00 PM sun in the actual room. Once the client approves the sample, document that approval with a signature or a digital sign-off tied directly to that specific window item.
Keeping your window specs organized in Alcove
Most studios already organize projects across pins, spreadsheets, and trackers long before a system enters the picture. You might be tracking your yardage calculations in one document, your Chelsea Workroom quotes in your inbox, and your client approvals in another portal.
Alcove lets you bring that work in through imports and tools you already use, instead of starting from a blank file. Our room-level specification tools let you attach precise lining choices, pocket dimensions, and hardware finishes directly to each window item so your workroom orders match your design intent perfectly.
Instead of hunting through old email threads to find which lining was approved for the guest room, you can see the entire history of the item—from the initial site measurements to the final purchase order—in one place. This keeps your team aligned and ensures your margins remain protected through install day.
So you can spend more time on design decisions and less on copying cells.
Price with clarity. Install with confidence.
Learn more at alcove.co.

FAQs
What is the best way to prevent light bleed on inside-mount blackout shades in NYC apartments?
To eliminate light halos on inside-mount shades, specify side channels—or switch to an outside mount that overlaps the window casing by at least two to three inches on each side. If the building's architecture demands an inside mount, ensure your workroom uses a tight deduction and prepare the client for the minimal, inevitable light bleed around the edges.
How do you calculate yardage for double-fullness drapery in high-ceiling lofts?
Multiply the track or rod width by your fullness factor—typically 2.0 to 2.5 for ripplefold or pinch pleat—divide by the fabric width (usually 54 inches) to find the number of cuts, and then multiply by the cut length. The cut length is your finished length plus hem allowances, which usually add 12 to 18 inches. Always round up to the nearest whole yard to account for pattern repeats and workroom cutting margins.
How should I document window treatments when the client wants to reuse existing hardware?
Measure and document the existing bracket placement, rod diameter, and clearance depths during your initial site survey. Note these exact dimensions in your spec package and have your workroom verify that the new drapery weight will not exceed the load capacity of the existing wall anchors or plaster.
See how Alcove does this
See how Alcove helps you organize room-level window specs, track yardage calculations, and manage workroom orders in one place.





